Introduction
I find mugs one of the easier products to design for in print on demand, especially the basic white ones that are so common in the industry. They’re a great project for a beginner, both in POD and with Adobe Photoshop.
To get you started, I’m providing some starter tips for creating your custom designs for mug printing. While I’ll be be using Adobe Photoshop – my preferred tool – a lot of what I cover will also apply in other offerings such as Canva or one of the Affinity products.
Advantages of Designing for Ceramic Mugs
The surface of a ceramic mug is very forgiving. Unlike with a t-shirt (or anything else being printed on fabric), you’re working with a smooth, stable surface. Raster artwork – i.e., image formats such as PNG and JPG – renders well without the issue of surface texture. I love using things like watercolor style art on mugs.
Colors usually print very true, especially on the white ones. Other mug colors require a bit different approach, but we’ll set that aside for our current purposes.
And, unlike with products such as blankets or all-over print clothing, the surface area is small. This fact will make it easier to properly size your artwork since it’s easy to shrink an image. It’s when you want to enlarge it that you run into issues.
Image Size
The ubiquitous white ceramic mugs used in the print-on-demand industry are very standardized. Based on what I’ve seen my various samples over the years, I’m pretty sure most of the companies out there use the same one or two suppliers from China.
While this means you’re not going to find a lot of style differences, it does mean you won’t have to adjust your designs much if you try different vendors.
The exact files specifications will vary slightly from vendor to vendor. I pretty sure it depends on the exact equipment they use for printing since the mugs themselves are the same size. So always double-check the image requirements.
For example, here’s the image size guidelines for a classic 11 ounce mug from several vendors stated in inches with pixels in parentheses:
- Printful: 9″ x 3.5″ (2700 x 1050)
- Printify: 8.25″ x 3.85″ (2475 x 1155)
- Gooten: 8.46″ x 3.15″ (2538 x 945)
- CustomCat: 9.06″ x 3.81″ (2718 x 1143)
Vendor Templates
What is nice is that both Printful and CustomCat provide downloadable templates that you can use either directly as a template or to set up your own template in your image editing software.
With Printful, you can find the templates on the individual product pages under File Guidelines. CustomCat has them all collected for download on a general Artwork Guidelines page.
Download the provided file(s). Unzip if necessary.
Printful happens to include a Photoshop file as one of their template options. So we’re going to use that today because it includes some useful guidelines that I found SUPER helpful as I was figuring out how to lay out my designs.
If you’re not using a vendor’s template, create a new file with the measurements from your supplier. Use 300 dpi.
Navigating the Printful Photoshop Template
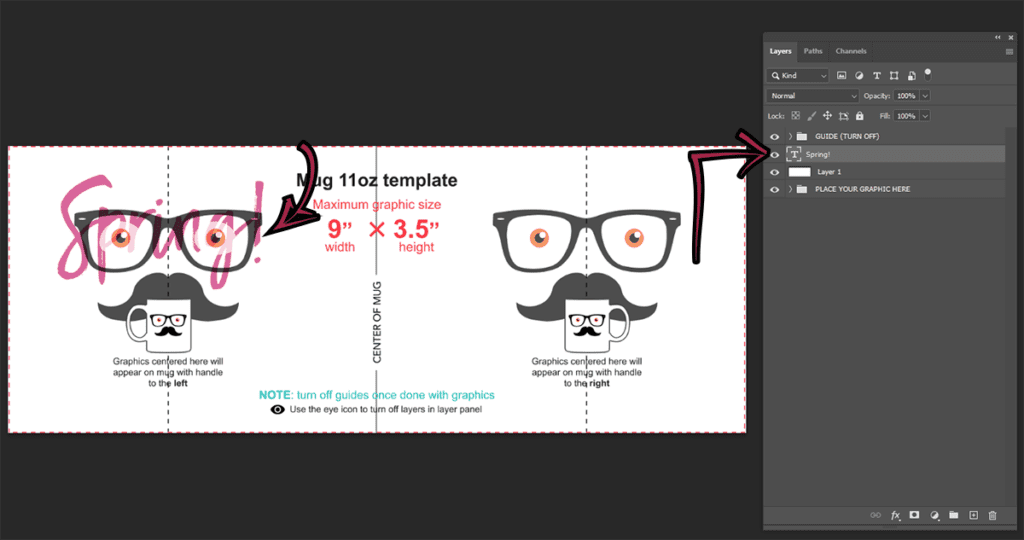
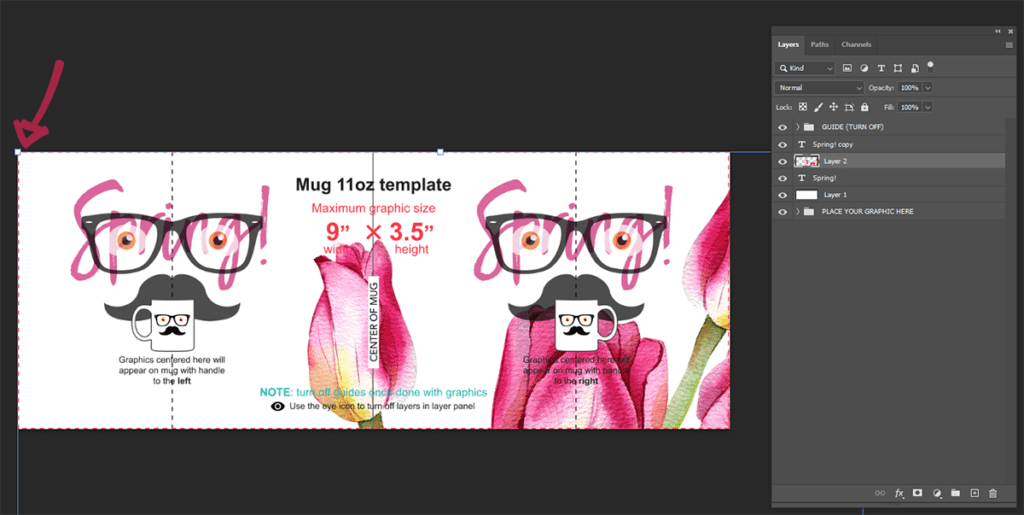
So here’s the Adobe Photoshop template from Printful for their 11 oz. mug. Let’s check out some of the useful markings that help you lay out your designs – regardless of the POD supplier you use.
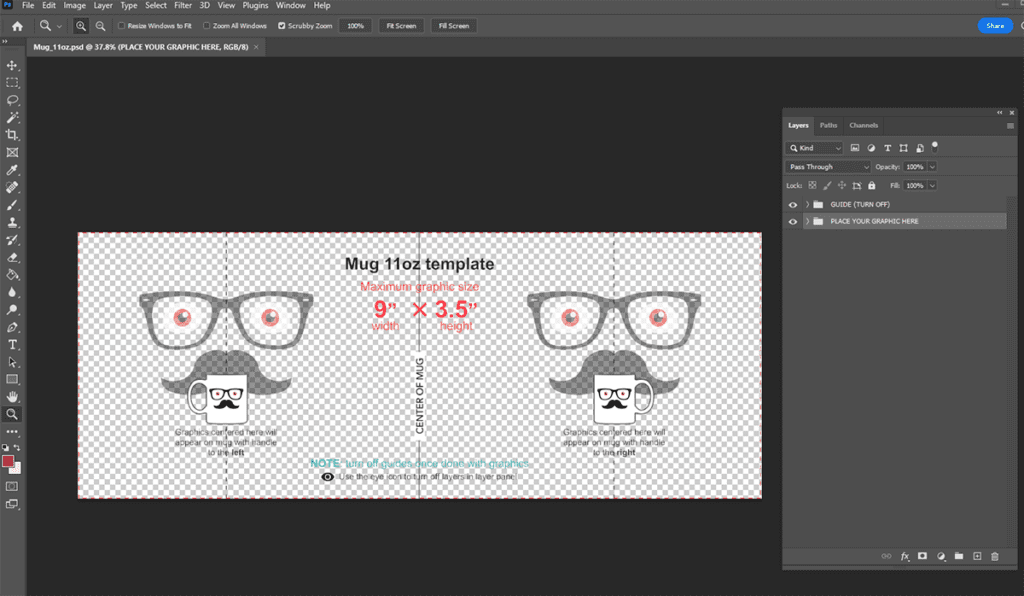
Remember that the design will wrap around the body of the mug from one side of the handle to the other. So the vertical line marked “CENTER OF MUG” is opposite the handle. The little mug icons tell you which side the handle will be on relative to each end of the rectangle.
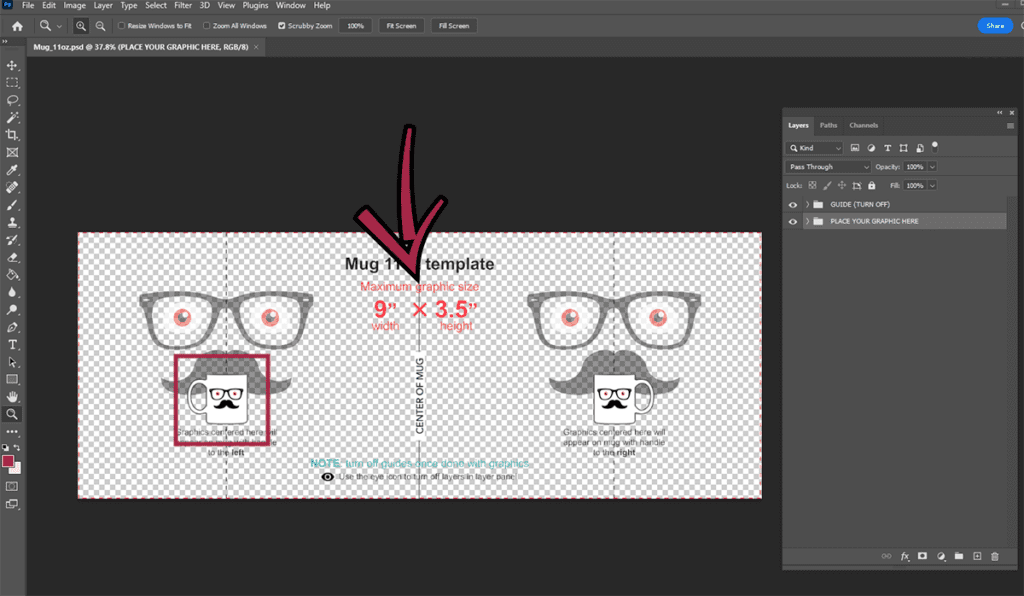
The other two vertical lines indicate the center point when the mug is pointing straight out to your left of right. These three lines are probably the most useful markings overall.
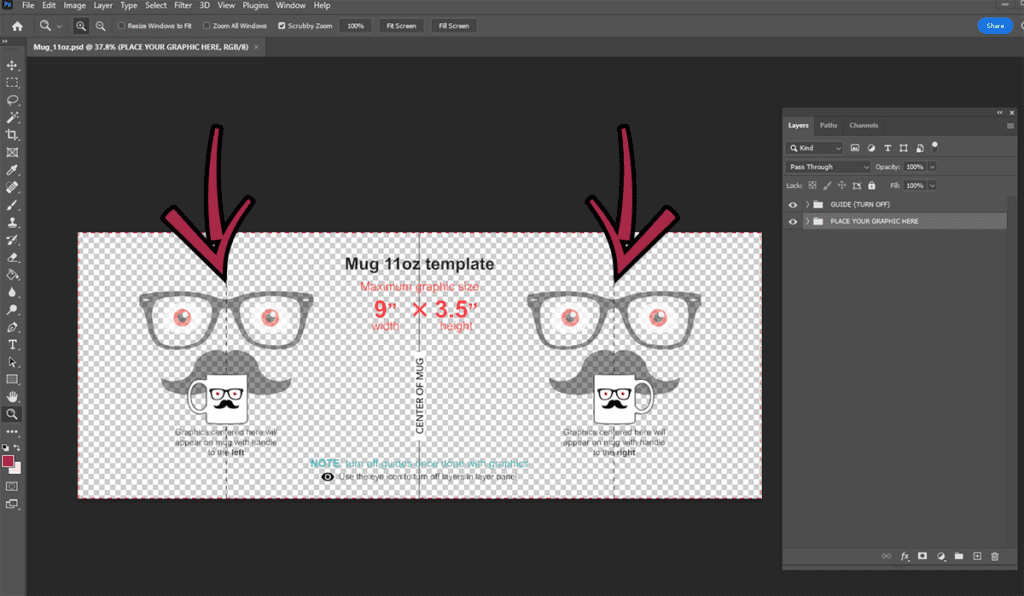
Nothing outside the edges of the rectangle will be printed. In practice I have found you can come right up to that dotted pink line but still within the rectangle and have whatever is at that edge be printed.
The faces are handy if you’re trying to mirror design elements, for example. They give you extra reference points to help balance the design on both sides of the mug.
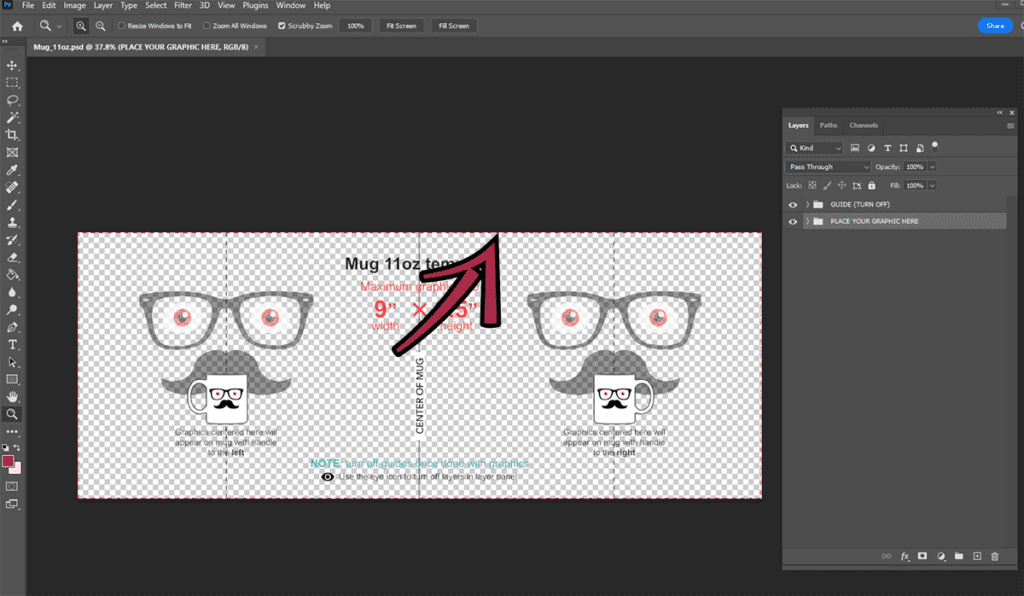
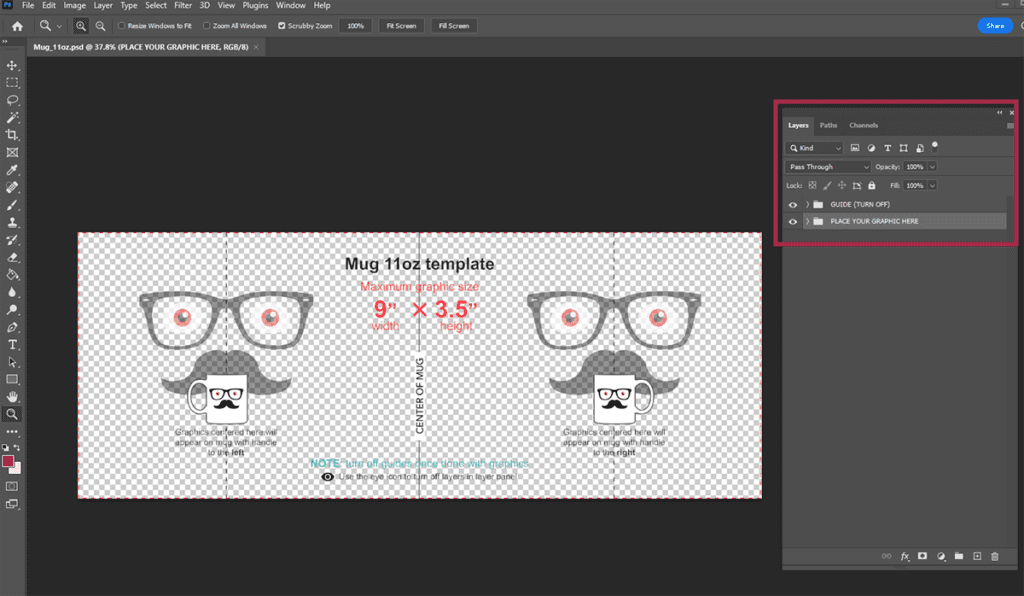
And, lastly, take note of the layers. You don’t actually have to put your design in the grouping labeled “PLACE YOUR GRAPHIC HERE” – it’s just a suggestion. The key instruction is about turning off layers at the very end that you don’t want printed.
Don’t worry – I’ll remind you again about that last item!
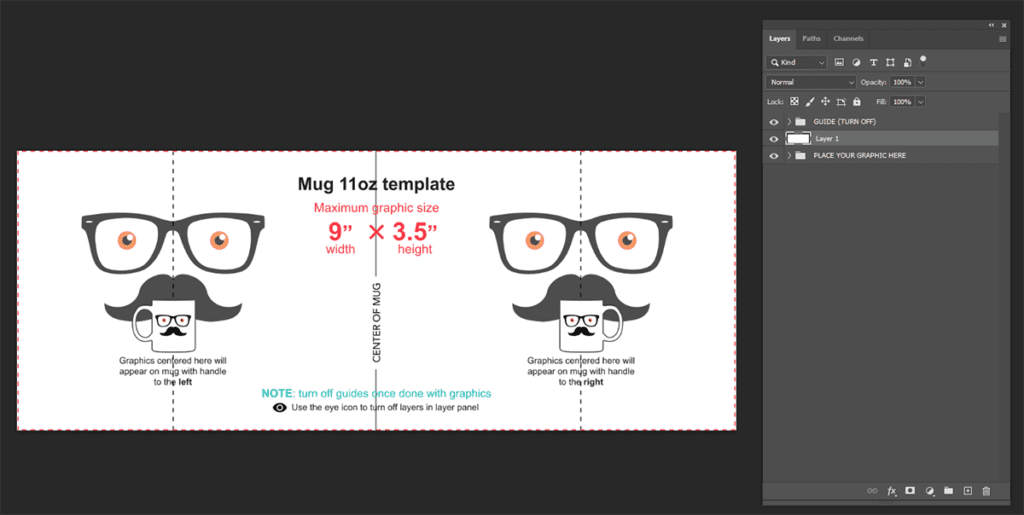
Tip: Add a White Background
To make it easier to judge your design colors as you go, I suggest adding a layer that you will fill with white. This won’t be part of the final design.
Click the + in your Layers window. Don’t worry about where it lands – you can move it around later as you build your design.

Choose the Paint Bucket tool. You might have to look under the Gradient Tool. Make sure your foreground color is set to white.

Make sure you have the new, empty layer selected in the Layers window. Click on the image with the Paint Bucket tool to fill with white.
Save As with a new file name for your design.
Adding Text
Click the Type tool. You’ll probably use the Horizontal Type Tool most often, but you can also choose the Vertical Type tool for a different effect.

Click on the image with the Type tool. It will create a new layer with a box for you to start typing in. You will be able to freely change the text, so don’t worry if you make any typos. You might also get some placeholder text in the text box: this is normal, and you can just delete it.
Now is the fun part: start testing different fonts and colors. Take into consideration the overall style and mood of your design. And don’t forget about readability.
Take advantage of the guidelines in the template to place your text to match your intended design.
Tip: Turn the GUIDE layer on and off to toggle between layout and preview. Click the little eye icon to the left of the layer in the Layers window.

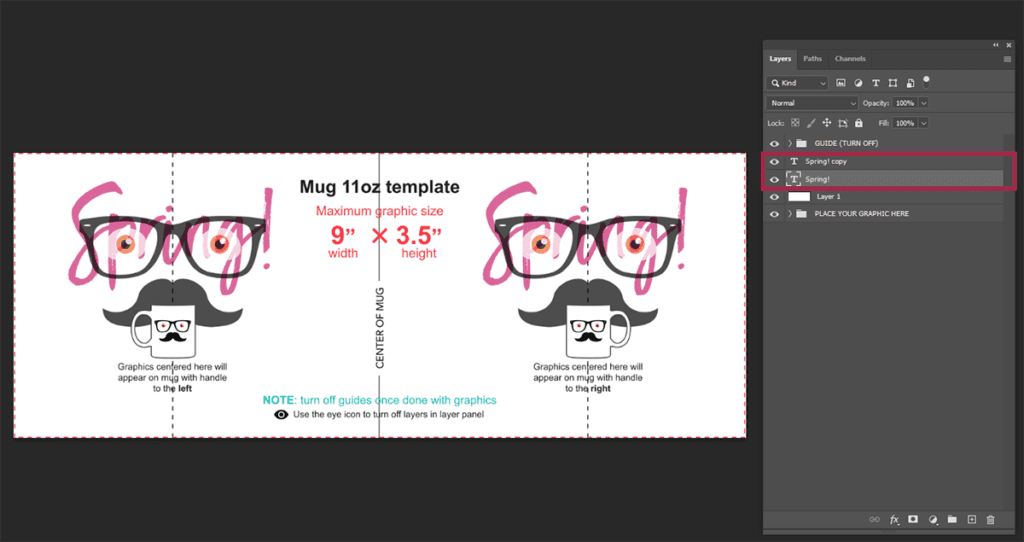
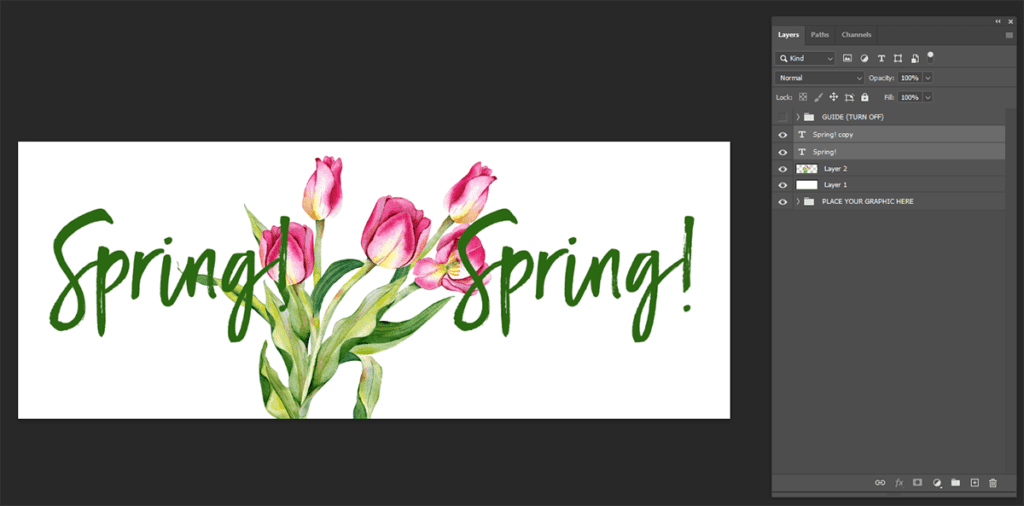
If you want to repeat the text, duplicate the layer and move the text in place.
Tip: Hold down Shift and move the new text with your mouse. This combination will allow you to move the text horizontally and not permit it to shift up or down and is useful if you want to repeat the design on both sides.
Adding Images
Obviously, you can make a text-only design. But you can also add artwork. I think mugs are a great opportunity to use images that don’t work well on other surfaces. Take advantage of it!
Tip: If adding multiple elements, keep them all on separate layers to make it easier to move things around.
There’s multiple ways to add other images to your Photoshop design. Here’s two that I use most frequently:
- Place
- File > Place Embedded (or Place Linked, if you prefer)
- Choose image file.
- It will be placed on its own layer within a bounding/sizing box.
- If the image is bigger than your design image, it will be auto-fit to fit your design such that you can see the whole artwork. In other words, it will be shrunk to fit.
- Move around and resize as you wish.
OR
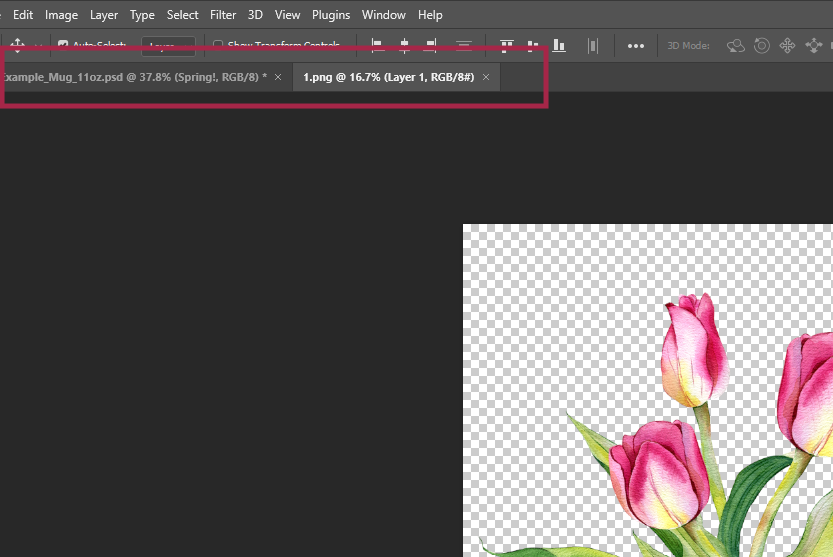
- Copy/Paste
- Open the image in Photoshop that you want to use.
- Select all. Select > All OR Ctrl+A (on PC)
- Copy. Edit > Copy OR Ctrl+C (on PC)
- Return to mug design.
- Past. Edit > Paste OR Ctrl+V
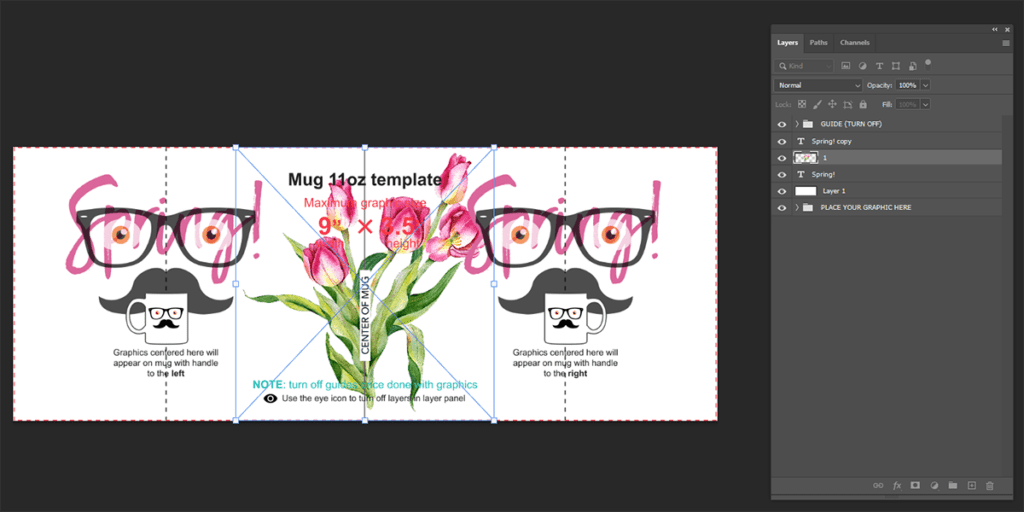
- It will be placed on its own layer but at FULL SIZE.
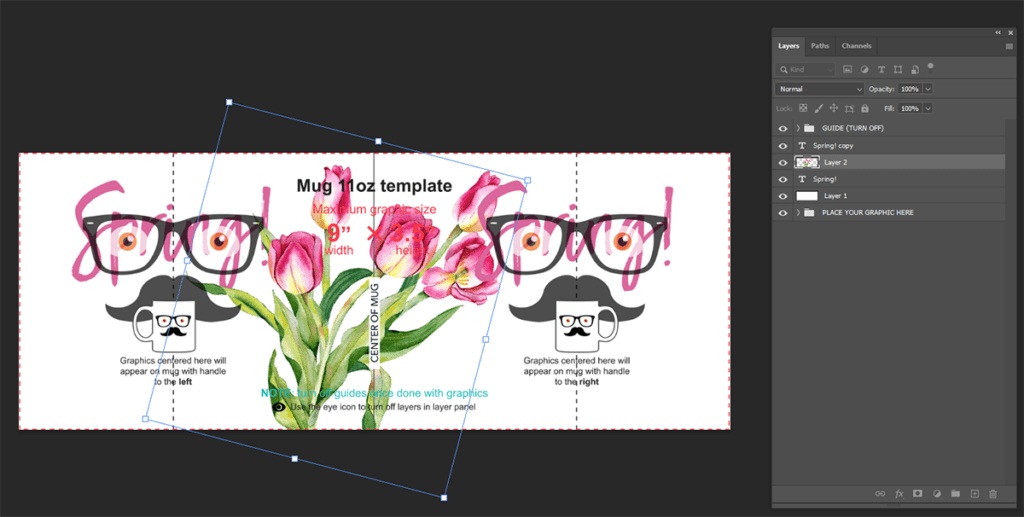
- If the original image is larger than the mug design, you might resize it. Choose Edit > Free Transform (Ctrl+T). Use the sizing box that will will surround the artwork to resize it. You can also use the handles to rotate the image.
Use whatever method works for you. Over time you’ll find there’s often multiple ways in to get at the final result you want in Adobe Photoshop.
Previewing Your Design
As I mentioned previously, turn the GUIDE layer on and off while you work to get a better look at your design.
Move the text and image layers around – just drag-and-drop withing the Layers window to try that out.
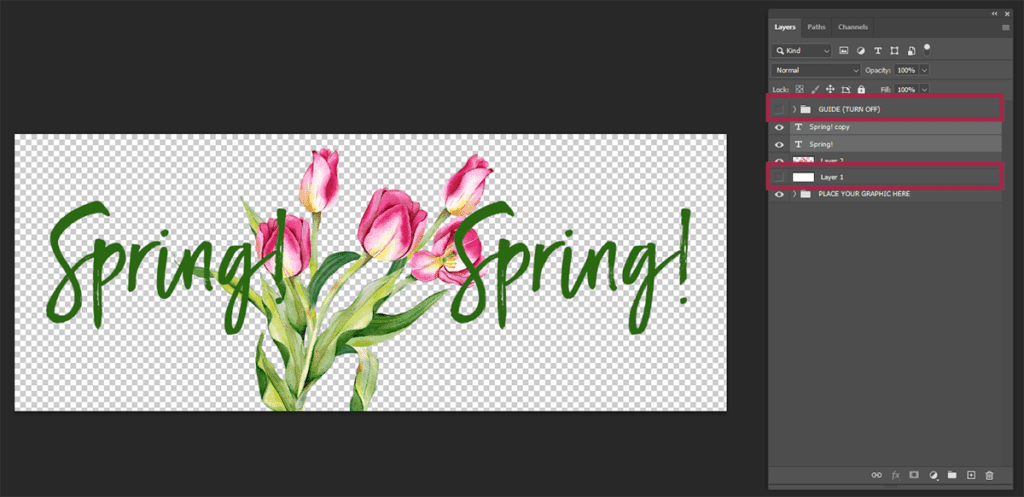
Once you have everything looking how you want, turn off any layers you don’t want in the design. At minimum, you should be hiding
- GUIDE layer
- The white background layer
Unless you have filled your entire background, you should see at least some areas with a gray checkerboard. These indicate where the image will be transparent when you export to a PNG file. Those are also the areas where the mug surface will show through.
Exporting in the Right File Format
As I just mentioned in the previous section, turn off all layers you don’t want in the final image. This includes any layers with guides or instructions. It also means turn off the solid white layer you were using to preview your design.
Export in PNG format with a transparent background. Doing so will ensure any parts of the design where you didn’t put images or text will let the mug show through.
File > Export > Quick Export as PNG
Upload to your POD supplier to set up a new design!